Interface
Synfig Studio start in one window, and dock a number of individual Panels into that window. The default layout of user interface is divided in three parts : the toolbox, the canvas and the other panels.
This page tries to give you a short introduction to the different elements you will find after opening synfig.
The Toolbox window
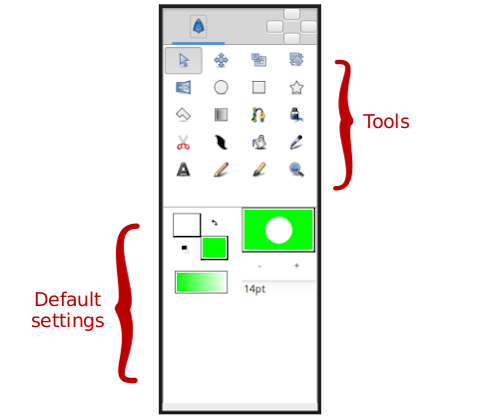
The Toolbox Panel is a major piece of Synfig : even if you have several open projects, there will only be one Toolbox.
The toolbox is separated into two areas:
The upper palette contains the tools which allow you to create and manipulate objects. In synfig we will talk of Layer, as each object lies in its own layer. You can find a detailed description of each tool here.
The lowest palette contains the default settings for new layers: fore- and background colors Brush Colors, Current Gradient and Current Gradient Current Gradient. You can find a detailed description of each default settings at New Layer Defaults.
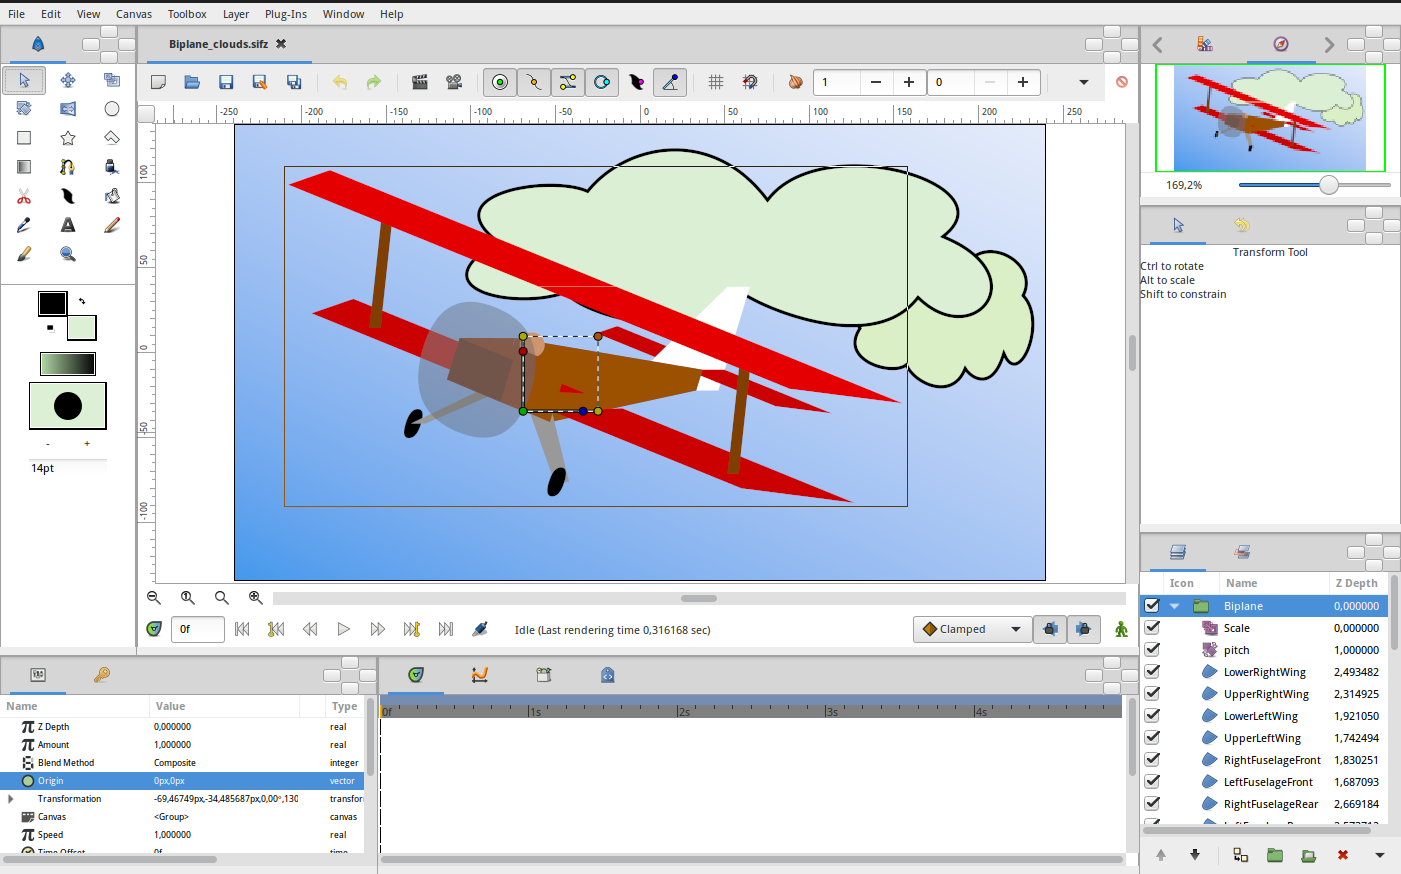
The Canvas window
 Once you have opened a file or created a new project you’ll
see the Canvas Window. This is where you’ll create your animation!
Once you have opened a file or created a new project you’ll
see the Canvas Window. This is where you’ll create your animation!
In addition of set of menus at the top of the screen, or the top of the drawing window, Synfig has a Canvas Menu Caret: the little black triangle in the upper left corner of the canvas. Beneath are all the menus you would expect and that allow you to access most of Synfig’s features.
The area with the grey check-board pattern is your working area in which you can create elements/layers and manipulate them.
The Timebar that you can see in the picture here only appears when you have defined a non-zero duration in the Canvas Properties Dialog of your project. To the left you can see the number of the current frame and on the right side buttons to Lock Keyframes the keyframes and to switch the Animate Editing Mode. The Animations Basics Tutorial gives a good introduction on how to work with this buttons.
In the picture above there are three elements on the canvas, the black curve - called Spline - is selected. The little orange and brown dots along the spline control the curve and are called Handles. Also you can see the Group Transformation Widget of the selected group.
The other panels
The Navigator, Tool Options and Layers Panel
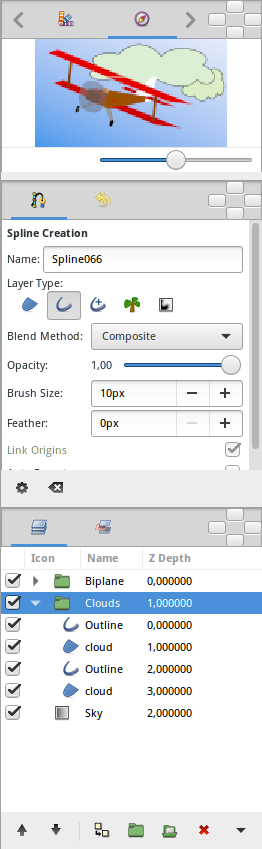
To the right side, three areas, each of which can show different panels: in this picture the Navigator Panel, the Tool Options Panel and the Layers Panel are active.
You can access detailed descriptions of the other panels here.
The Parameter and Time Track Panel

Finally, at the bottom you can see the Parameters Panel, where you can find detailed Parameters and settings for the active element like colour, width, opacity, location and so on. To the right is the Timetrack Panel that allows you to create and modify waypoints.