Basic Masking
This tutorial gives you an overview of how masking can be done in Synfig.
About masking
Sometimes you want your characters to go behind objects, a building in the background for instance. If you create your background in Synfig you can probably just place the character behind the object in your layer stack but if your background is an image you need to do this by masking.
This tutorial will show you two basic ways of masking; hiding and revealing using differents Blend Method Parameter
Hiding

In this masking mode everything covered by the mask shape is hidden.
Create a mask shape and place it above the elements you want to mask, either within the same group layer or above it and then grouping the mask and elements together.
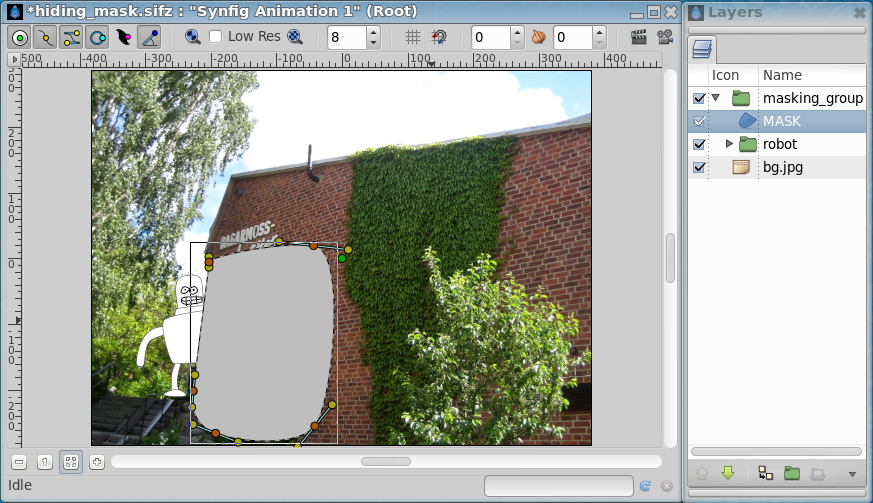
Set the blend method of the mask to “Alpha Over” ([Blend_Method_Parameter#Alpha_over]).
Everything below the mask shape will now be hidden.

Revealing
A revealing mask can be achieved by two different approaches using different blend modes.
Revealing mask method 1.
Note
Warning, actually broken in some cases
Bug report #868 - Straight Onto blend method broken (both render engine) : When using groups result is the same has “Straight” on the workarea and when rendering and cobra (0991d44751f) to render empty on vector artwork.
Create a masking shape and place it below the elements you want to mask.
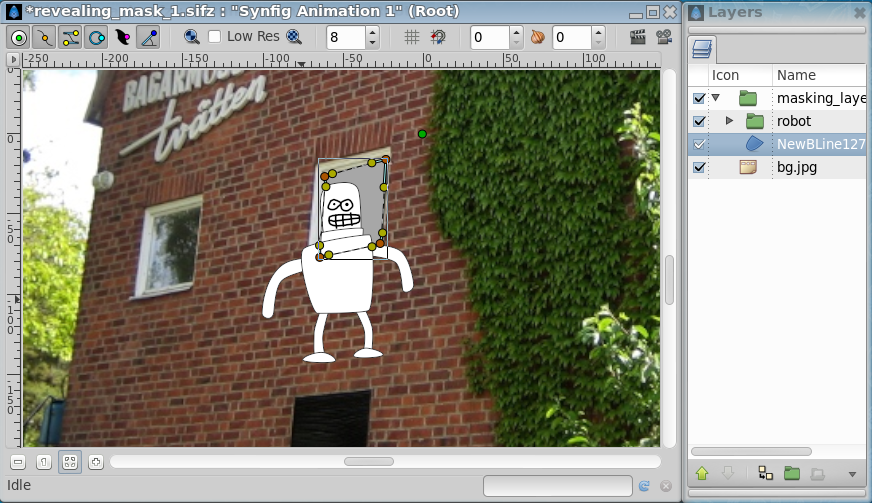
Set the blend method of the elements you want to mask (robot layer in this case) to “Straight Onto” Blend Method Parameter: Straight Onto. You can only use this method on one layer at a time so if you have several objects you need to group those into one group layer.
Everything above the mask will be visible, everything outside will be hidden.

Revealing mask method 2.
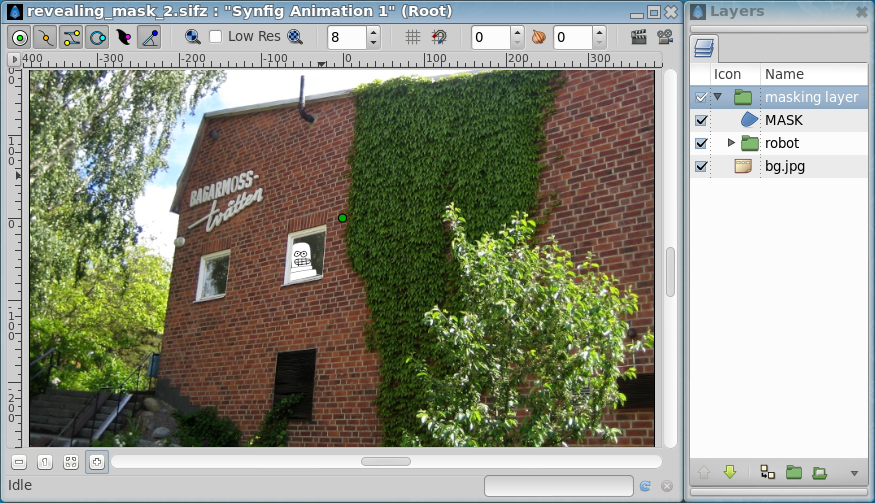
This mask method is similar to the hiding mask and a bit more flexible
than revealing method 1 in that you don’t have to group everything that
should be masked. This mask reveals everything below it, no matter how
many layers. 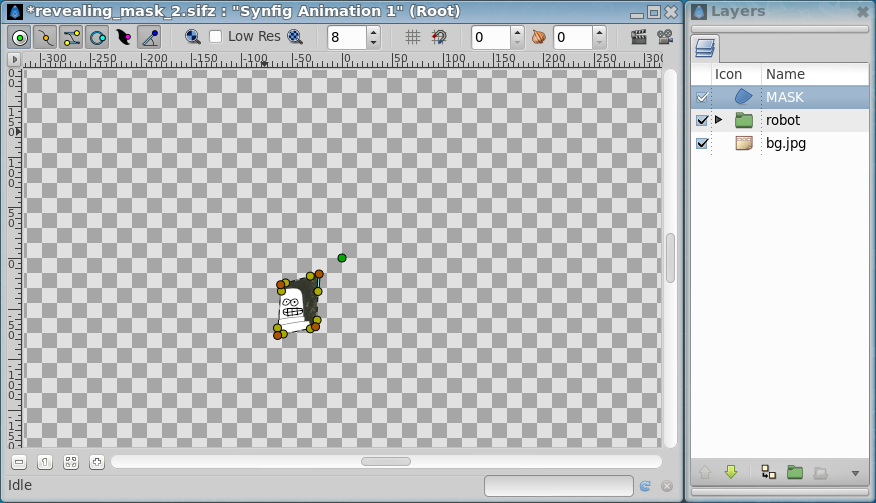
Create a mask shape above the objects you want to mask.
Tick the “Invert” option of the mask.
Set blend method of mask to “Alpha Over” Blend Method Parameter: Alpha Over. Everything below the mask shape will be visible and the rest is masked off.
You can group the mask and the objects that should be masked. Anything outside of this group layer is not masked so leave the background outside in this example.
Revealing mask method 3.
Using one ‘mask’ and one ‘full mask’. To be describe (using the linked project)
Tutorial files
Download tutorial files
Next Steps
This is the end of the introductory tutorials. From here you can take a look at the Interface page, or continue reading or doing the rest of . The gives you a list of the available articles to read for a more complete understanding of Synfig.