Working with Layers
Introduction
In the previous tutorial, you made your first simple animation by changing the attributes of Primitive Layer objects, such as: position, color, and size. These simple types, however, are seldom sufficient to create advanced characters and objects. To do so, Synfig uses Layer. They are similar to layers used in other drawing applications in that they are used to separate different elements of an image.
However, Synfig’s layers have following important specific:
Every object or Primitive Layer gets its own layer.
You can organize layers into hierarchical groups.
You can use upper layers to change the behavior (or look) of underlying layers. Those are called Filter Layer or effect layers.
As you will see, layers are an extremely important aspect of Synfig, much more so than most graphics programs. Understanding the concept of layers is an important part in understanding how Synfig works.
Combining layers
So let’s look at a simple example of how we can combine two layers to create a gradient effect on a rectangle.
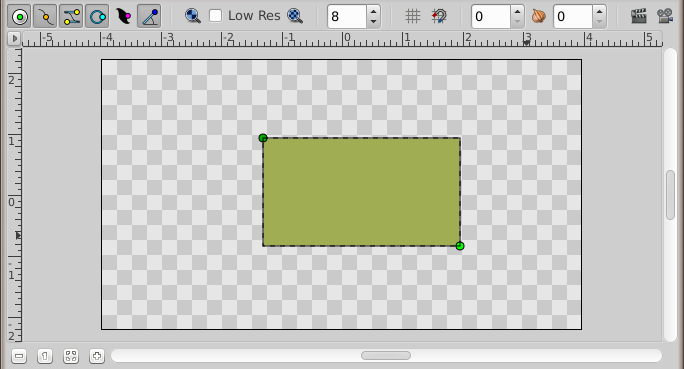
Create a new file with any duration. There’s no need to bother with a timeline at this point. Next, create a simple rectangle with the Rectangle Tool.
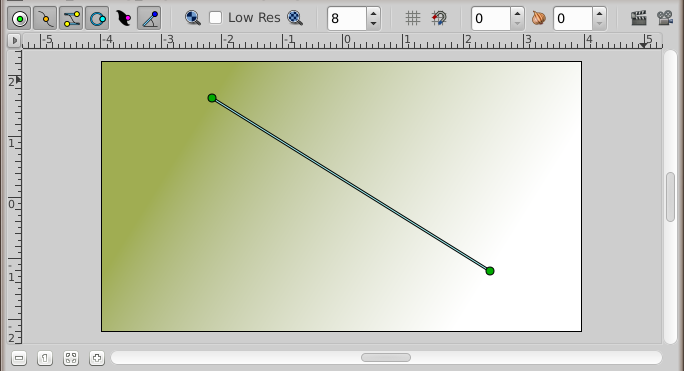
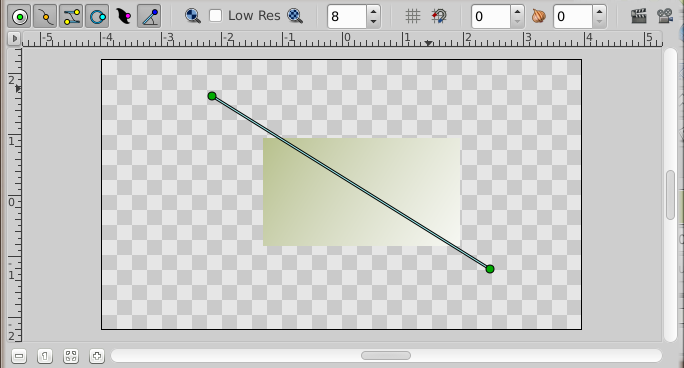
Pick the Gradient Tool from the (Composite ([Blend Method Parameter#Composite]) Blend Method), press the left mouse button on the canvas, drag to change the gradient direction and release the button when you are done. You should note that another layer was added in the Layers Panel called Gradient. This is nothing special.
Note
If you see no gradient but just a plain color, that means that you probably just clicked on the canvas without dragging your mouse. To fix that pick the Transform Tool, click into the canvas to activate the gradient’s handles. You need to grab the one you see and move it a bit until a gradient appears.
Note
If you see a spiral gradient, go to the Tool Options Panel and change Layer Type to linear by clicking on the far left icon.
You now have a gradient, but it is not what you wanted: it spreads across the whole canvas. The goal was to have a gradient in the rectangle. So, let’s fix this now.
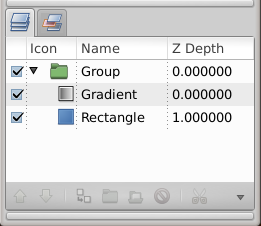
In the Layers Panel, select both the gradient and the
rectangle layer. Then, right-click and select Group Layer from the
menu. The view of your Layers Panel should change now, showing a small
box called Group Layer with a ▶ in front. By clicking on the
▶ you can expand the group layer to see its contents, your previous two
layers: the gradient and the rectangle.
You can treat this layer like any other layer — move it around, duplicate it, copy and paste it. If you want to change the name of it to something more descriptive, just select the layer in the layer tab and click on its label. Then you just edit it in place. You can do this for ANY layer, and are strongly encouraged to do so.
Using locality
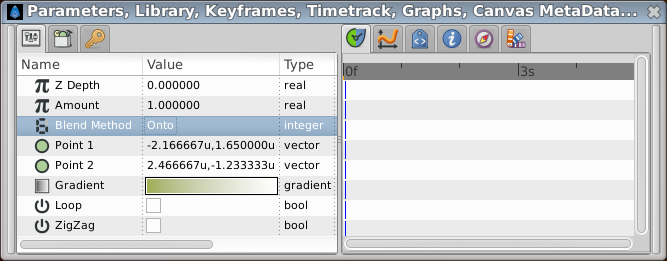
However, there is still a problem: the gradient still covers the whole canvas although we wanted it to be restricted on the rectangle. To do so, activate the gradient layer in the Layers Panel. Now go to the Parameters Panel (by default it resides in the bottom window), and search for the attribute called Blend Method Parameter. Double-click the entry and select Onto Blend Method Parameter:Onto from the drop-down menu.
The gradient should now be restricted to the rectangle. Congratulations! You just made your first effect by interacting layers with Synfig.
The gradient is restricted to the rectangle. You will found more
informations about the various Blend Method in the
Blend Method Parameter documentation.
If only for the additional organization, grouping layers dramatically improves the ease of use of Synfig Studio. But lots of programs can do this. The concept of scope as just demonstrated sets Synfig apart from other programs with layer hierarchies. The key point is that a layer, inside it’s own group, will only modify the data contained by all the layers and groups below it. In other words, if you were to throw a Blur Layer on top of the layers inside the Group Layer we created, it would just blur them — anything under the group layer would not be blurred! Let’s try it.
Using layers to modify other layers
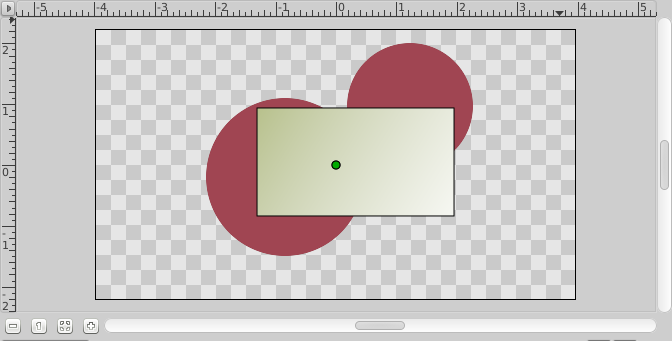
Make sure you have the group layer selected and create two red
Circle Tool. They will appear on top of the group layer.
Select the group layer and use the Raise Layer button in the Layers
Panel to place it on top of the circles.
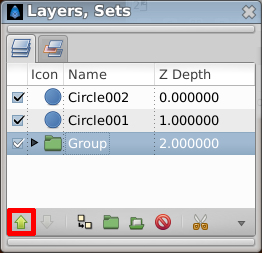
Now our group layer (with rectangle and gradient) is in front of those two circles.
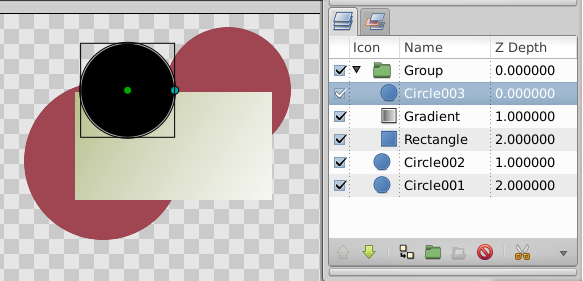
Expand the group layer to show its contents, and select the top layer inside of it (should be the gradient layer). This is where we want to insert the new layer. Create another circle filled with a black color. The black circle layer will be created over the gradient layer inside the group layer.
Now, right click on the black circle layer in the layers panel and a
popup menu will appear. The first item in that popup is New Layer.
Inside of the New Layer menu, you’ll see several categories of
layers you could create, but what we want is a blur, so go to the blurs
category and select the Blur layer (so that would be
New Layer|Blurs|Blur).
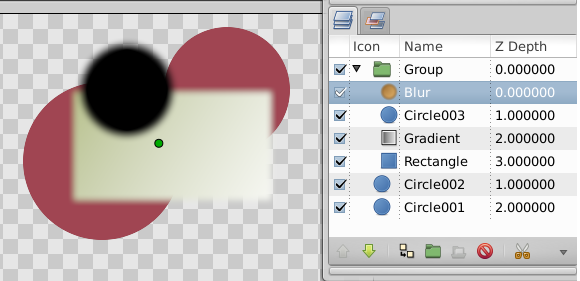
It blurred! Has the blend method for newly created blur is Straight
(if the default blend method in the Toolbox is set to
By Layer Default) it blurred all around the outside edge of the
contents of the group layer. You can change the default blend method
New Layer Defaults:Blend Mehtod for new layers from the New Layer Defaults section of the Toolbox.
Note
In the Synfig version before “0.62.02”, the blend method for newly created blur layers was defaulted to “Composite”, that cause the outside edge of the contents of the group layer is still sharp. What we want is a blend method of “Straight”. Just select the blur layer, and change the Blend Method to “Straight” in the Parameters Panel.
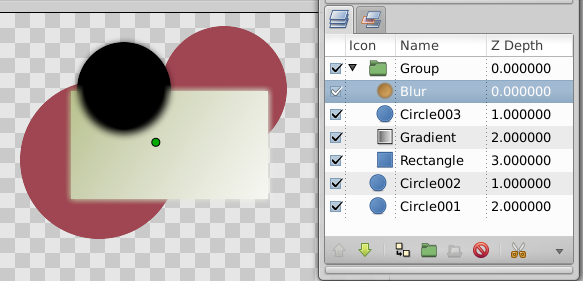
Ok, now we have all of the contents of the group layer blurred, but everything under it is sharp! This is because the effect of the Blur Layer over the underlying layers is limited to the scope of the group layer because the blur layer is inside it.
You can download the File:Doc Adding Layers.sif used for this example.
Digging further…
If you care to look into Synfig’s main menu under Layer|New Layer
you will note quite a lot of different possibilities for making layers.
Several of them sound rather unusual, like Transform|Rotate for
example. You can use this to add new attributes to your objects. And
just like other, basic attributes in the `previous animation
tutorial Previous Tutorial, you can change them to be different
on certain Keyframe. Synfig will take care of
interpolating the steps in between.
For example, you could create a shape and add a Rotate Layer over it. Combine this with the lesson learned in the Previous Tutorial and you will obtain a rotating effect. This technique is used for the creation of Cut out animation.
Let’s continue digging further on shapes creation Creating Shape.